How to Start Composting at Home: A Simple Guide for Beginners
Composting is a fantastic way to recycle your kitchen and garden waste, reduce your carbon footprint, and create nutrient-rich soil for your plants. If you’re new to composting, it might seem overwhelming, but it’s actually quite simple and rewarding. Whether you have a big backyard or just a small space, you can start composting at home with minimal effort. Here’s a step-by-step guide to get you started on your composting journey.
1. Choose a Composting Method
There are several ways to compost, depending on your space and needs. The most common methods include:
- Traditional Compost Bin: Ideal for outdoor spaces, this method allows you to build a compost pile or use a compost bin where you can add materials over time.
- Tumbler Compost Bin: A compost tumbler is a sealed container that makes turning your compost easier. It’s a great option for small spaces as it’s more compact and speeds up the composting process.
- Vermicomposting: This method uses worms to break down food scraps, and it’s perfect for indoor spaces. Vermicomposting is fast and produces highly nutrient-rich compost.
Choose the method that best fits your space, lifestyle, and the amount of waste you generate.
2. Set Up Your Composting Space
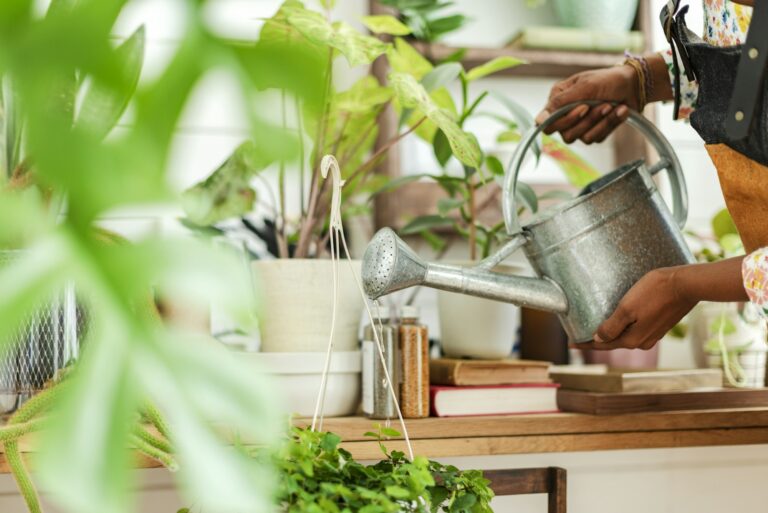
Once you’ve chosen your composting method, find a suitable location for your compost bin or pile. If you’re composting outdoors, choose a spot that’s easily accessible and close to your garden, but not too close to your house to avoid potential odors. Ideally, place it in a shaded area to help regulate the temperature and moisture levels.
For indoor composting, such as vermicomposting, you can keep your bin in a kitchen corner, garage, or balcony—just make sure it’s in a cool, dry place.
3. Know What You Can and Can’t Compost
Not all materials are suitable for composting. Understanding the difference between what you can and can’t compost is crucial for creating healthy compost.
Compostable Materials (Green and Brown):
- Greens (Nitrogen-rich materials): Vegetable scraps, fruit peels, coffee grounds, tea bags, grass clippings, and fresh plant trimmings.
- Browns (Carbon-rich materials): Dry leaves, straw, newspaper, cardboard, sawdust, and wood chips.
You’ll want to balance green and brown materials in your compost for the best results. A general rule of thumb is to aim for a ratio of 3 parts brown to 1 part green.
Avoid Composting:
- Meat, dairy, and bones (these attract pests and take longer to decompose)
- Oily foods or fats
- Diseased plants or weeds with seeds
- Pet waste (can introduce harmful bacteria)
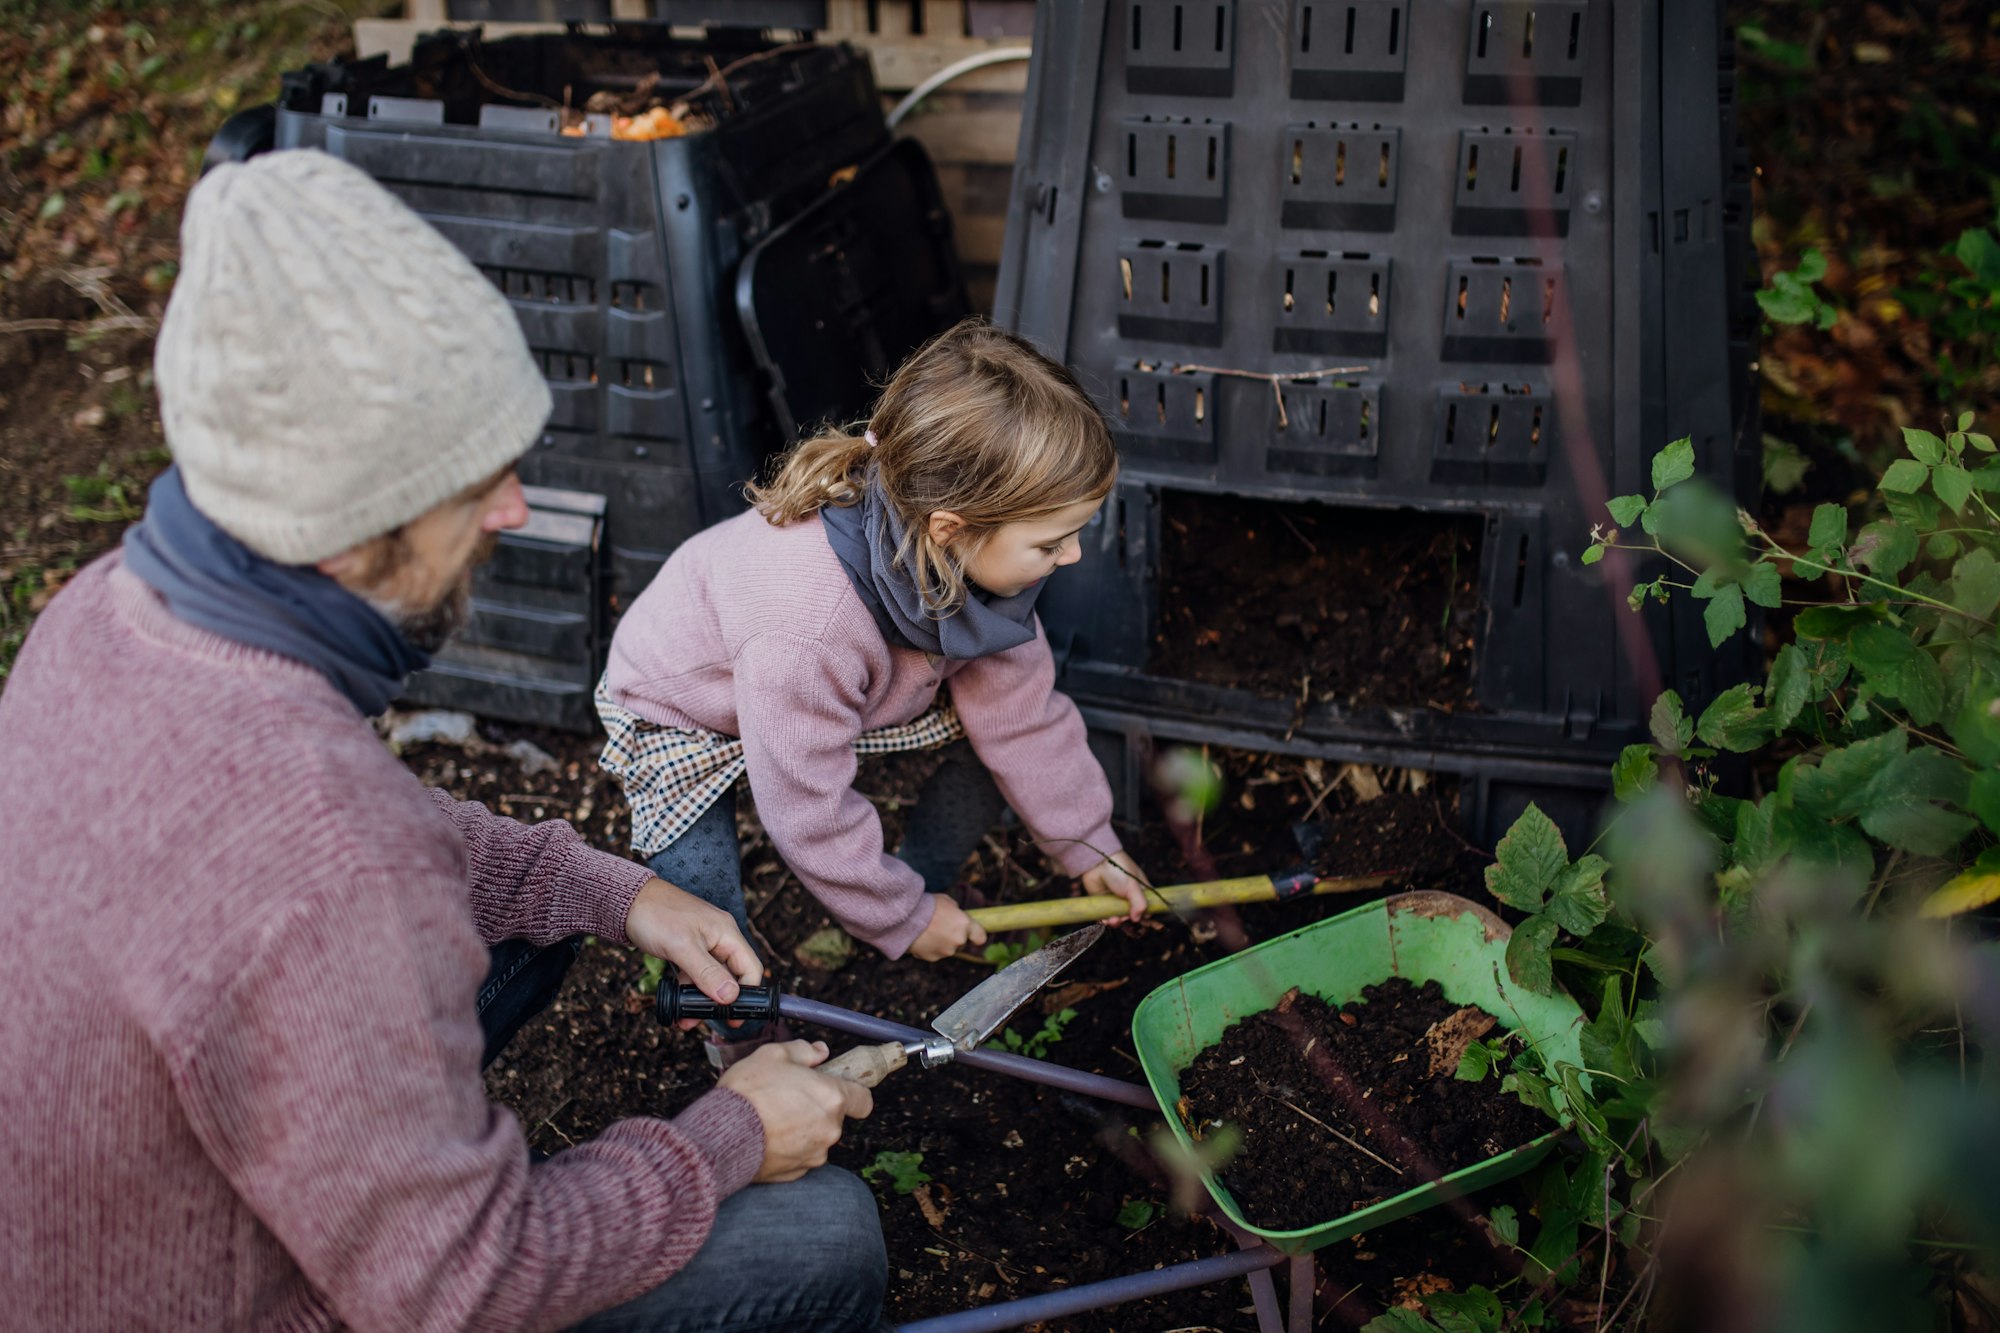
4. Start Adding Waste
Once your bin or pile is set up, begin adding your compostable materials. Start with a layer of browns, such as dried leaves or shredded newspaper, then add a layer of greens like vegetable scraps or coffee grounds. Continue alternating between green and brown layers to create a balanced mix.
It’s important to chop larger items into smaller pieces, as this will help them break down faster. For example, tear up cardboard, and cut fruit and vegetable scraps into smaller chunks.
5. Turn Your Compost
Aeration is a key factor in successful composting. Oxygen helps the materials break down more quickly, so turning your compost regularly (about once a week) is essential. Use a garden fork or compost aerator to mix the contents, ensuring that the materials are evenly distributed and have access to air.
For compost tumblers, simply rotate the bin every few days to speed up decomposition.
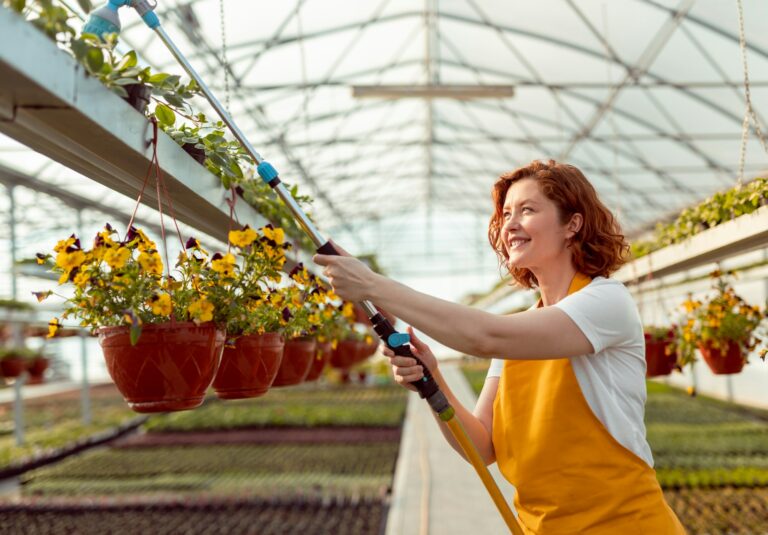
6. Maintain Proper Moisture Levels
Your compost pile should feel like a damp sponge—moist but not soaking wet. If the pile is too dry, decomposition will slow down. If it’s too wet, it can start to smell. To maintain the right moisture level, occasionally sprinkle water on your compost if it feels too dry, or add more brown materials if it’s too wet.
7. Be Patient and Let It Decompose
Composting takes time, typically anywhere from a few months to a year, depending on your method and conditions. Outdoor composting usually takes longer, while vermicomposting and tumblers can speed up the process. Be patient, and don’t rush it—the end result will be rich, dark, crumbly compost that smells earthy and looks like soil.
8. Use Your Finished Compost
Once your compost is ready, it’s time to put it to good use! You can use it in several ways:
- Mix it into your garden soil to boost nutrients and improve soil structure.
- Top-dress your plants with compost by spreading it around the base of plants to provide ongoing nourishment.
- Use it in containers and pots to help your indoor and outdoor plants thrive.
Finished compost can be used in flower beds, vegetable gardens, lawns, and even potted plants, giving them the nutrients they need to grow strong and healthy.
Composting at home is an easy and rewarding way to reduce waste and give back to your garden. By following these simple steps, you’ll soon have nutrient-rich compost to feed your plants and improve your soil. So start saving those kitchen scraps and get your composting journey underway! For more gardening tips and sustainable practices, be sure to subscribe to our blog!